Creating a Network Shared Distribution
- Pick a network-accessible server that everyone can access to configure the shared folder, preferably a
file server. - Create a folder, right-click it, click the Sharing tab, and then advanced sharing.

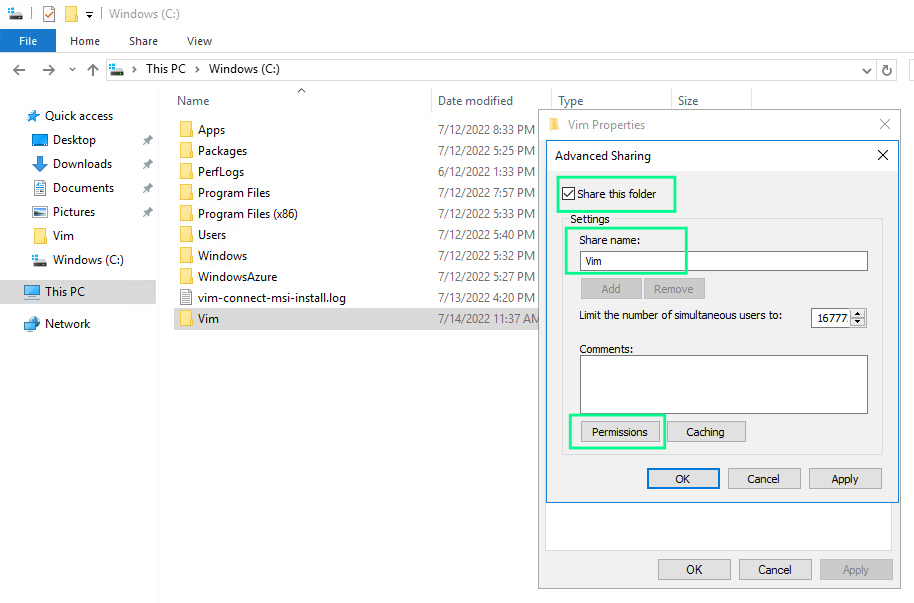
- On the advanced sharing window, click the box to share this folder.
You may configure any name you want for the share.

- Click the Permissions button.
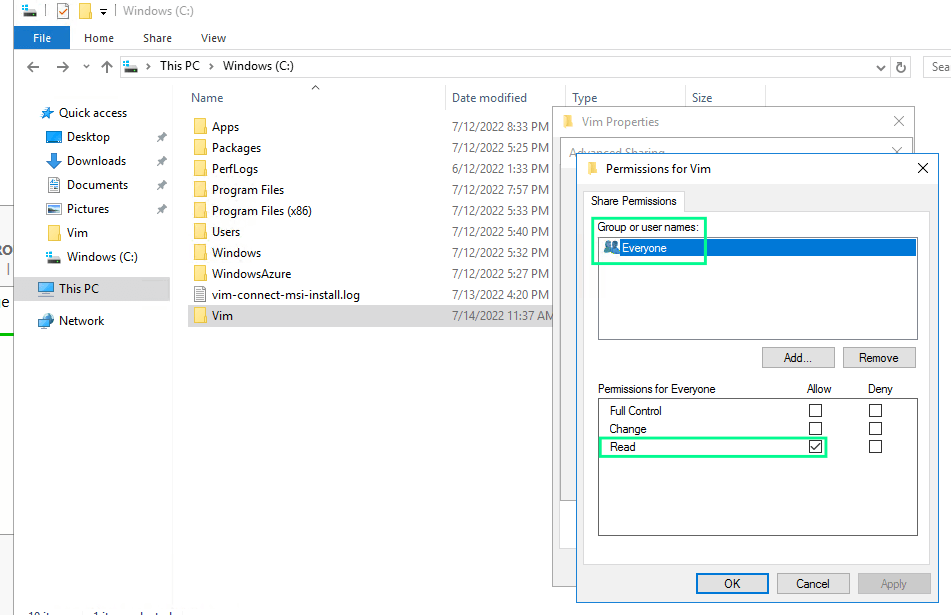
- On the share permissions screen, make sure that everyone has read permissions only.

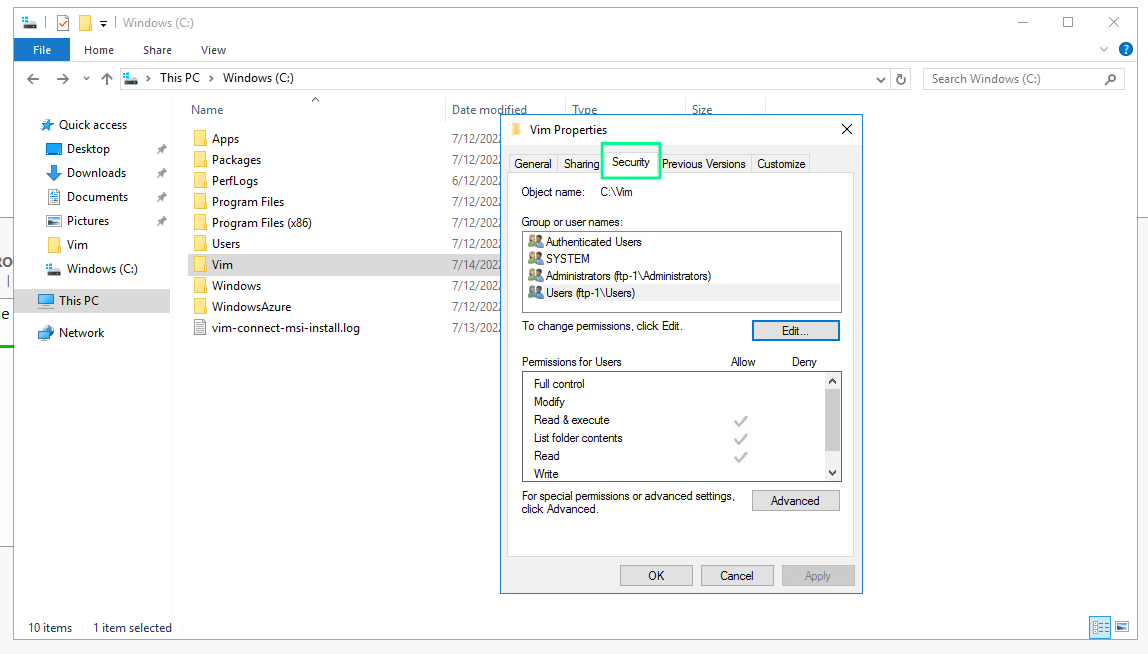
- Click ok to return to the properties page and then click the Security tab.

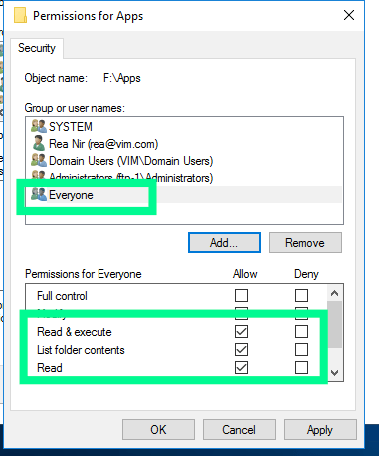
- Add Everyone and give it read & execute, list, and read permissions.

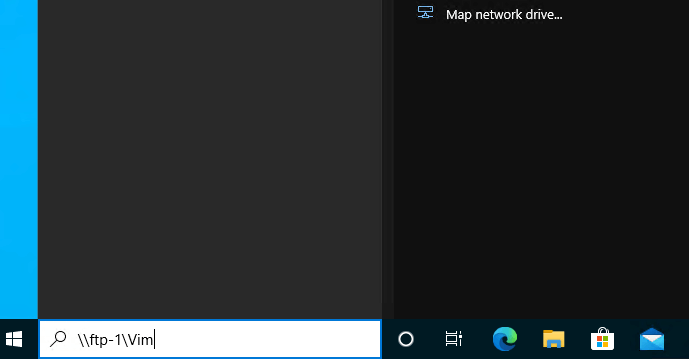
- On the remote computer, in the search box type \\hostname\sharename and press Enter. For example, in the following image, the server name is “ftp-1” and the shared folder name is “Vim”.

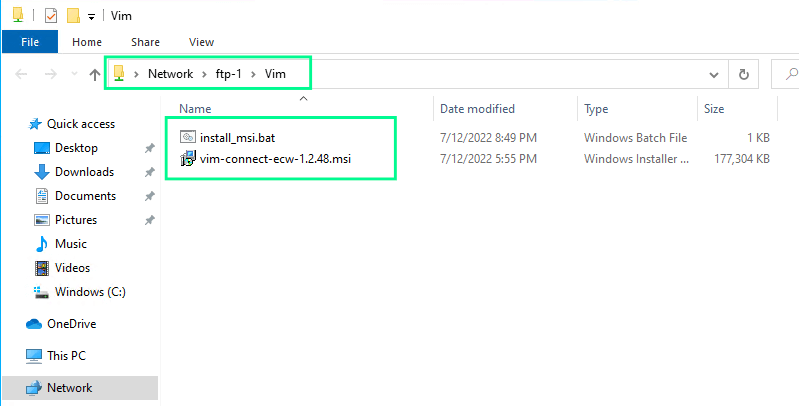
- If the shared folder is accessible, the folder has been successfully configured.

- Move the MSI and .bat script to the folder. You may now continue the GPO deployment process.