Deploying Vim Connect Desktop Agent
using Group Policy Software Package Distribution (GPO)
Vim Connect Agent is Vim’s desktop agent that enhances Electronic Medical Record (EMR) capabilities for provider organizations.
This guide provides instructions on how to distribute and deploy Vim Connect’s Desktop Agent to multiple endpoints using GPO.
Two files will be used in the process:
- MSI file
- Batch script
MSI (Microsoft Software Installer) is used to install software on Windows operating systems. By using the Microsoft Group Policy Management Console (GPMC), it can be easily deployed to multiple machines in your domain. You will also need to use a batch script in order to invoke a command that installs the MSI and logs the installation process, without the need to restart the endpoint after deployment.
Getting Started
- Download the MSI file from https://vim.health/desktop_ecw
- Download the batch script from https://vim.health/bat_script
- Create a shared folder if one doesn’t already exist.
You can skip steps 3-5 if you already have a shared folder on a server.
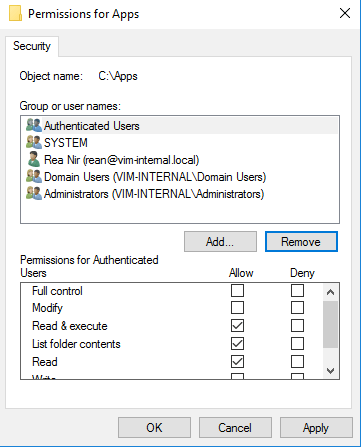
Create a shared folder on a network folder that is accessible to all applicable machines (NETLOGON, SYSVOL, etc.). - Make sure that under the “Security“ tab in the created folder’s properties, you see authenticated users and that the group has the Read and execute, List folder contents and Read permissions only:

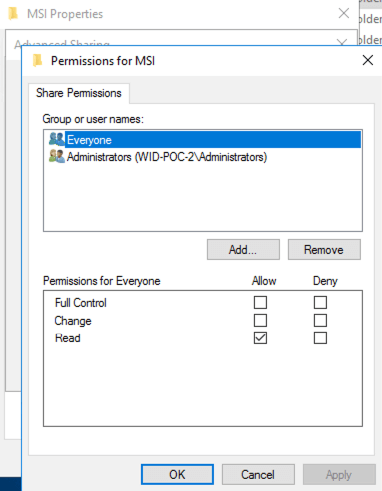
(Read & execute, List folder contents, Read) - On the “Sharing“ tab, go to Advanced Sharing → Permissions and make sure “Everyone” is attached and has “Read” permissions only:

- Copy the MSI file and batch script to the shared folder.
- Open the batch script and replace “\\path\to\MSI” with the path of the MSI file you just copied. Make sure to insert the path between the quotation marks, do not remove them.
- Replace PRODUCT_KEY=123456789 with your organization key (received from Vim).
- Your script should look similar to this example:

- Save the Batch script.

Mass deployment via GPO
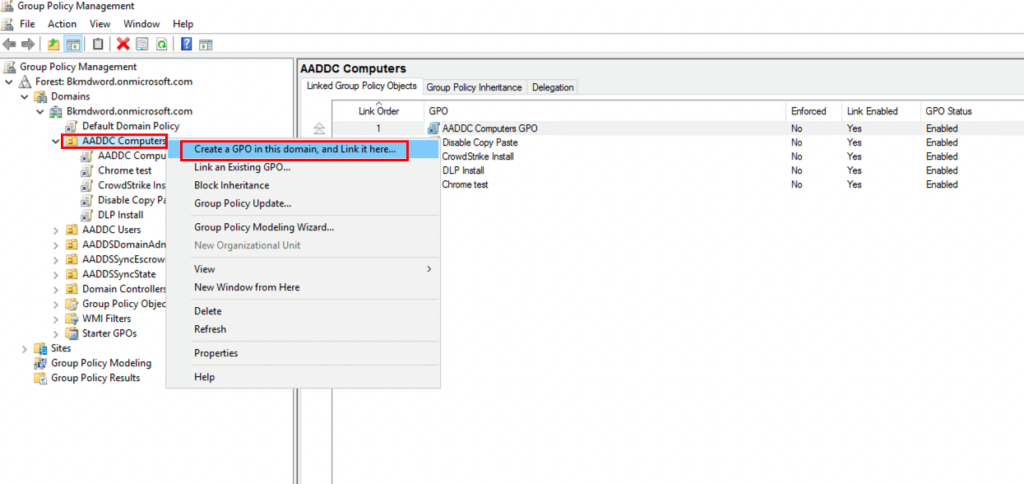
- Open Group Policy Management Panel by running gpmc.msc
- Right-click on your computers’ Organizational Unit (OU) and click Create a GPO in the domain, and Link it here.

- Name the GPO “Vim MSI Agent Install“ or any name of choice, and click OK
- Right-click the created GPO, and select Edit
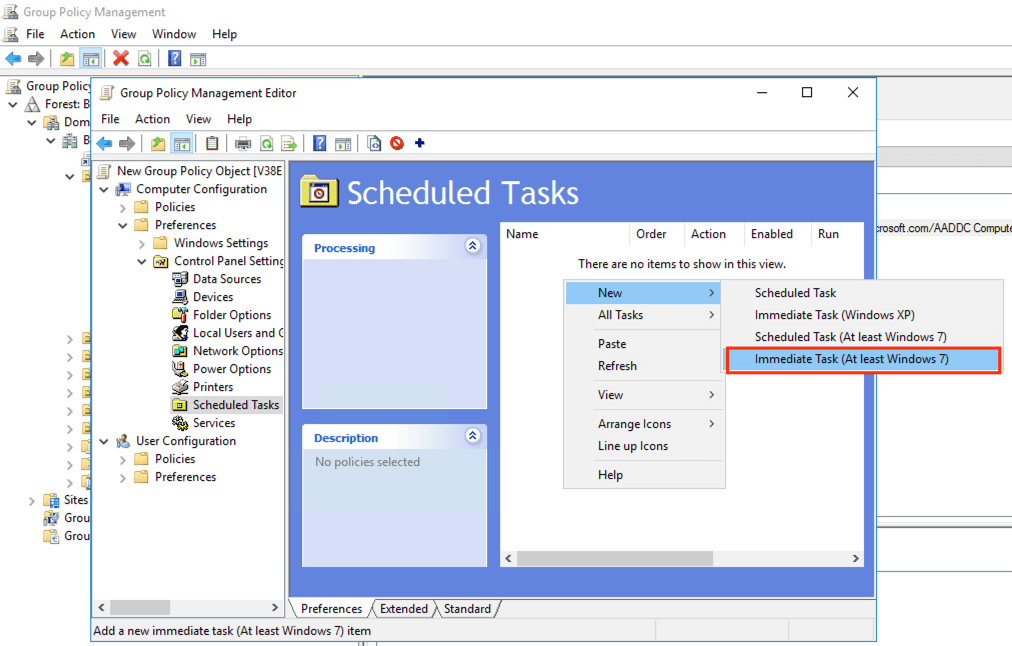
- Under Computer Configurations, go to Preferences → Control Panel Settings → Scheduled Tasks
- On the right pane, right-click an empty space and select New → Immediate Task (At least Windows 7)

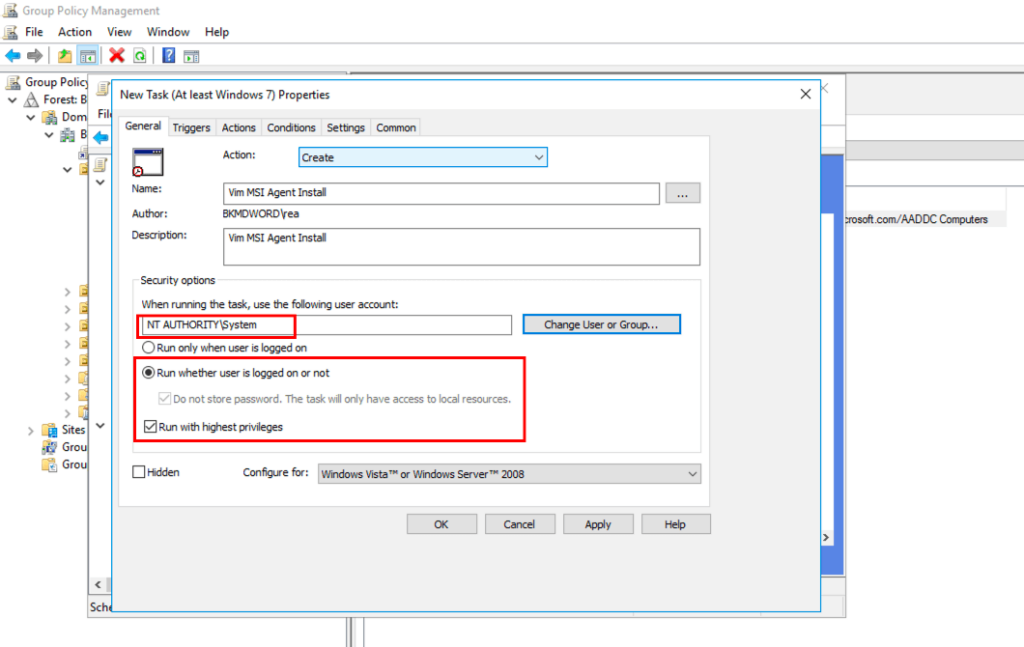
- In the New Task window, set Action to Create, enter a name and description for the task.
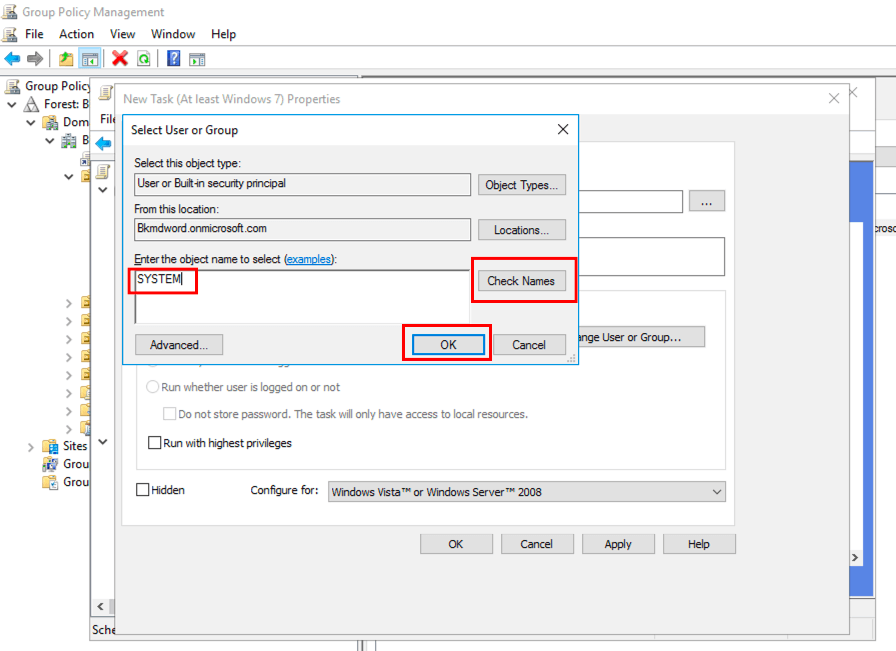
- Click the Change User Or Group button
- Under Enter the object name to select type SYSTEM, click Check Names and then click OK

- Under NT AUTHORITY/System, check Run whenever user is logged on or not and Run with highest privileges

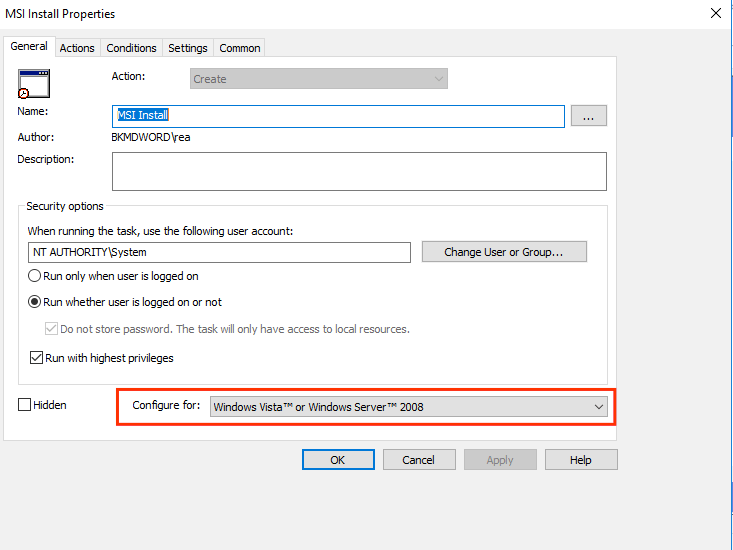
- You can leave the “Configure For” field with its default value:

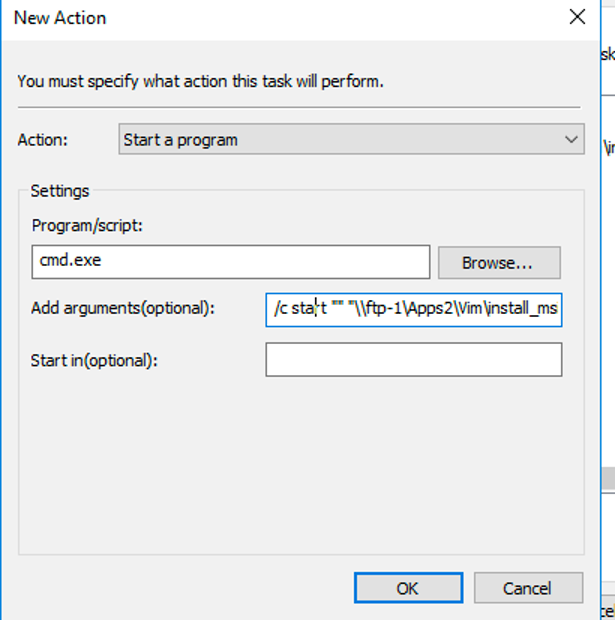
- Go to the Actions tab and click New
- Set Action as Start a program, set Program/script as cmd.exe, and in Add arguments(optional) type the following: /c start “” “\\path\to\bat_file”*Note: replace “\\path\to\.bat_file” with the path to the batch script file and do not remove the quotes. It is recommended to type this line in manually to avoid copy-paste errors.

Click OK when done. - Run CMD and type gpupdate /force to force group policy update on a workstation, or wait for the next group policy update, which normally runs in a 90-120 minutes interval.
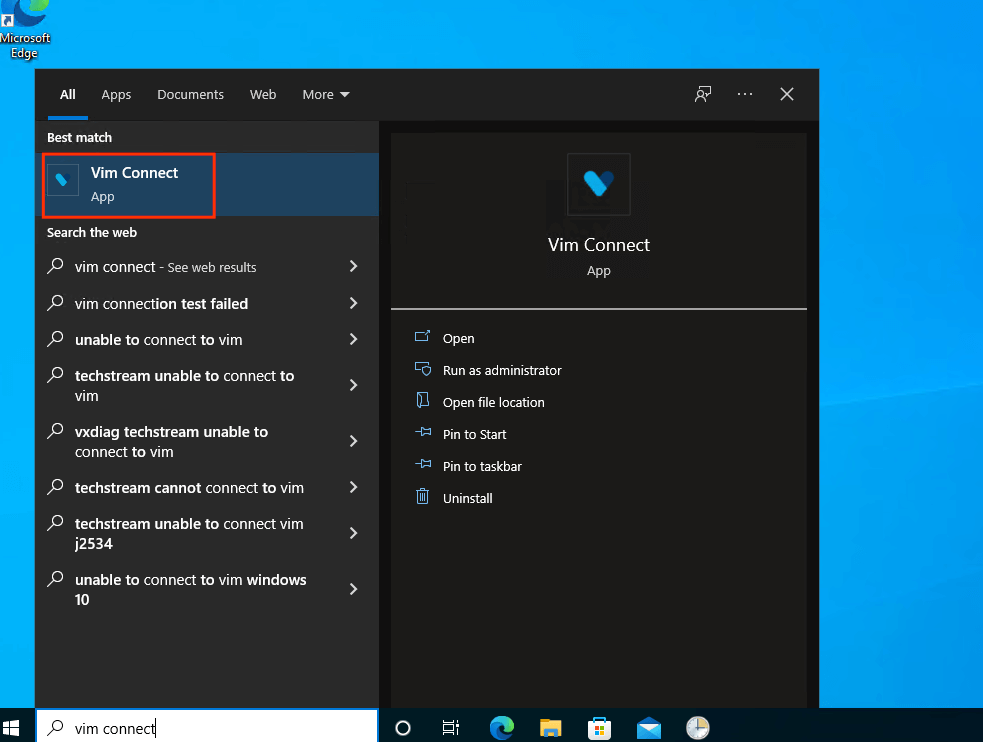
- In order to verify that the deployment is successful, look for the “Vim Connect” app in the Start menu

Questions? Contact your Vim representative or reach us at [email protected]