Configure Vim Connect SSO Via Azure Active Directory
Intro
In order to improve users’ Vim Connect login experience, your organization can leverage Azure Active Directory Seamless SSO to allow users to seamlessly connect to Vim Connect from corporate devices, without the need for username and password authentication each time Vim Connect starts.
Prerequisites
- Azure AD Connect server is installed, configured and properly synced with your on-prem Active Directory.
- Azure AD Connect Single Sign On feature is enabled and configured.
Step 1 – Enabling Single Sign On Feature:
- On the Azure AD Connect server, double click the Azure AD Connect icon to launch the wizard:

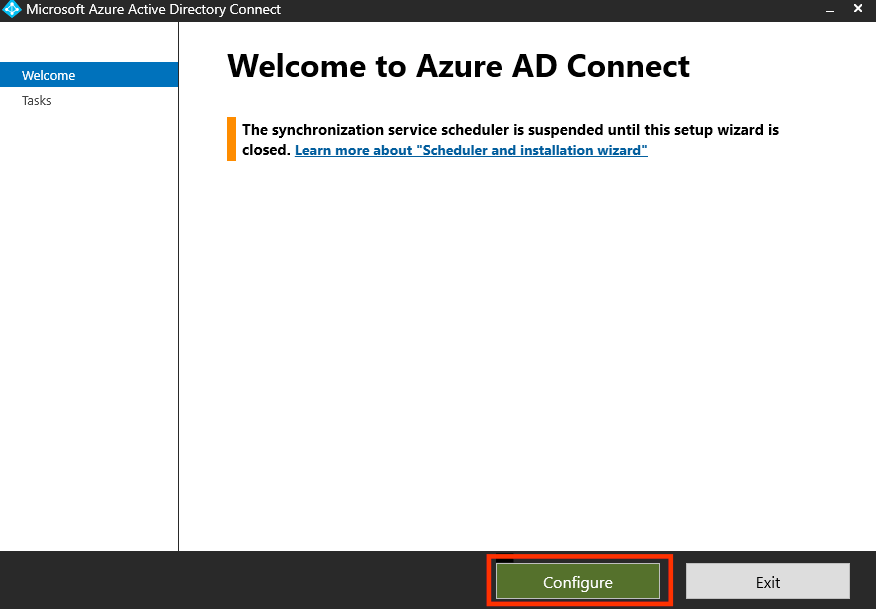
- Click “Configure”

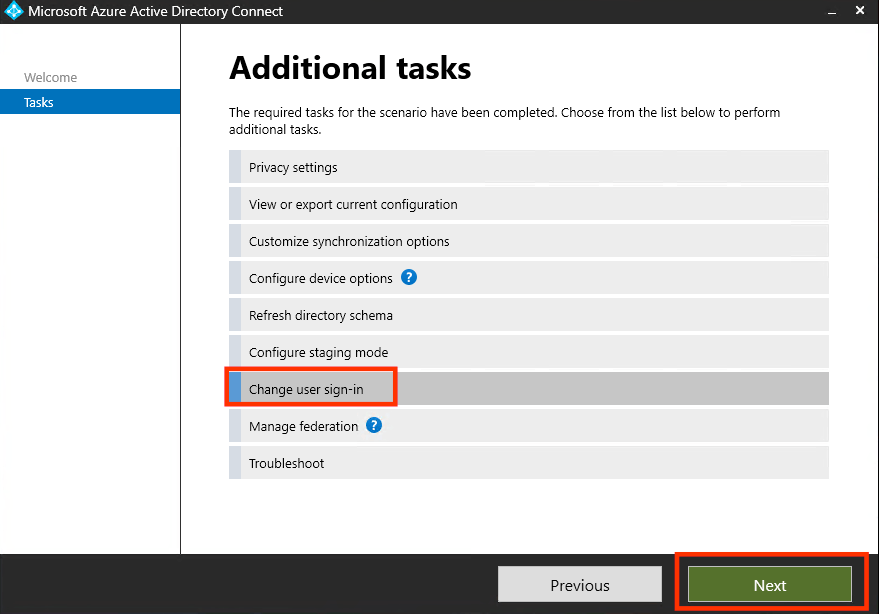
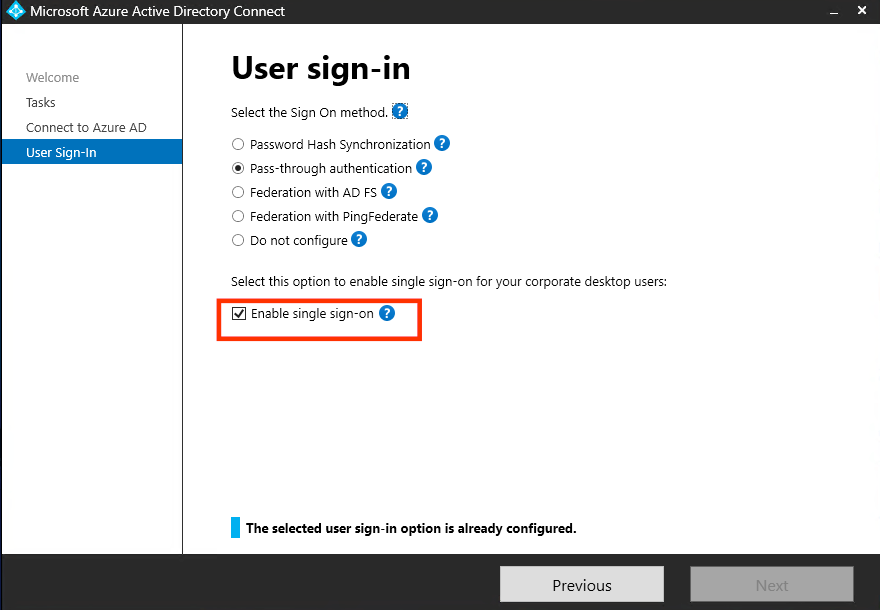
- Click “Change user sign-in” then click Next:

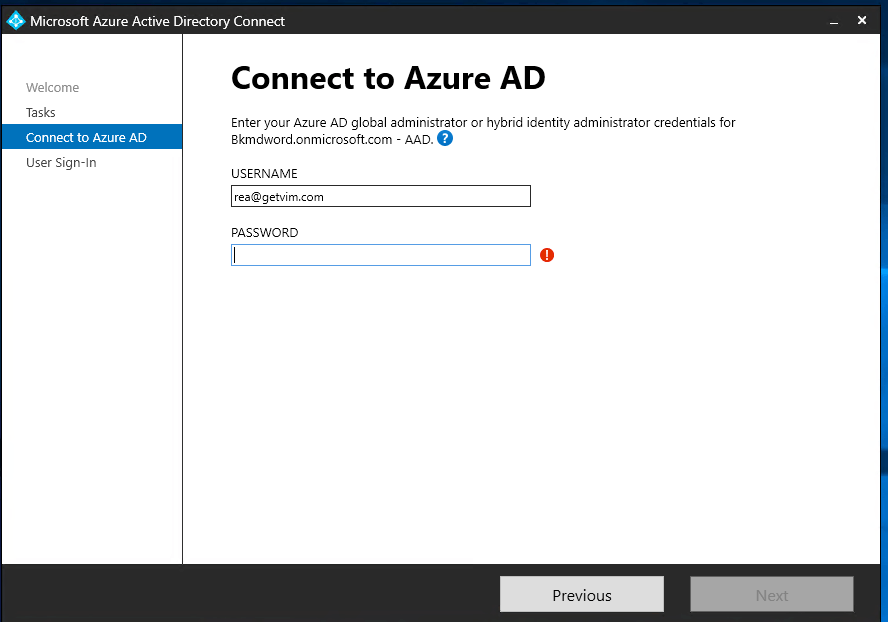
- Enter Azure AD global administrator username and password:

- Mark “Enable single sign-on” and then click next

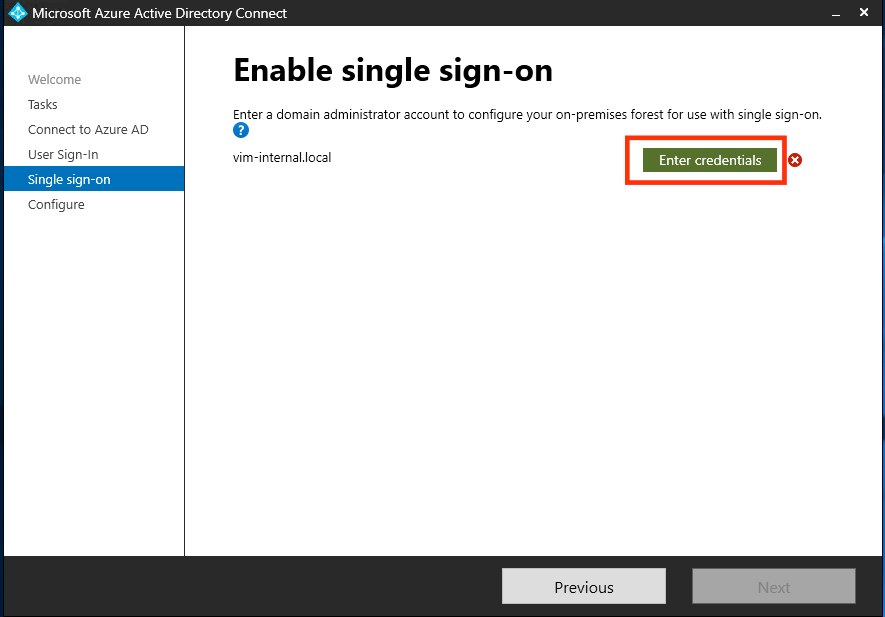
- AD Connect will now ask you to enter a domain administrator credentials for your on-prem active directory. Click “Enter Credentials” and enter a domain administrator credentials, then click Next:

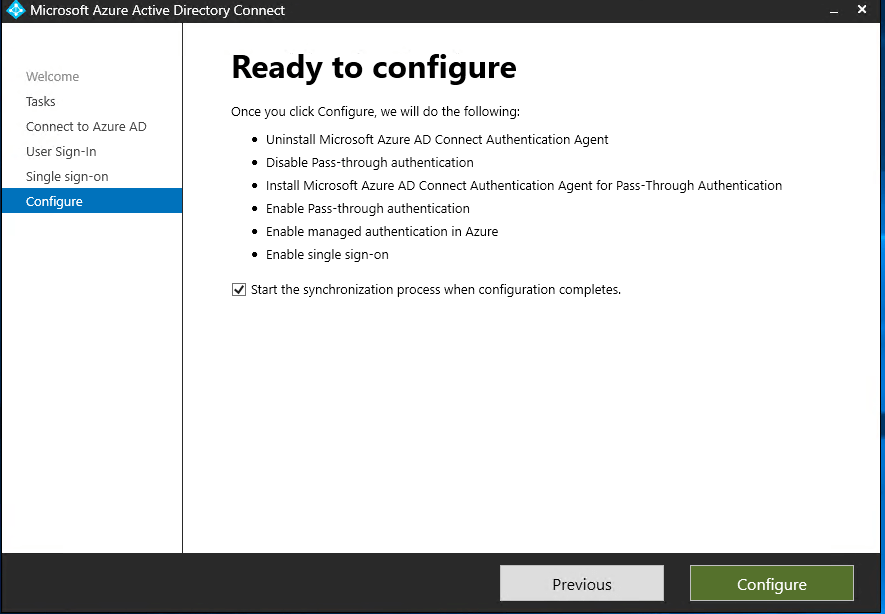
- The wizard will then show you a configuration summary, click Configure:

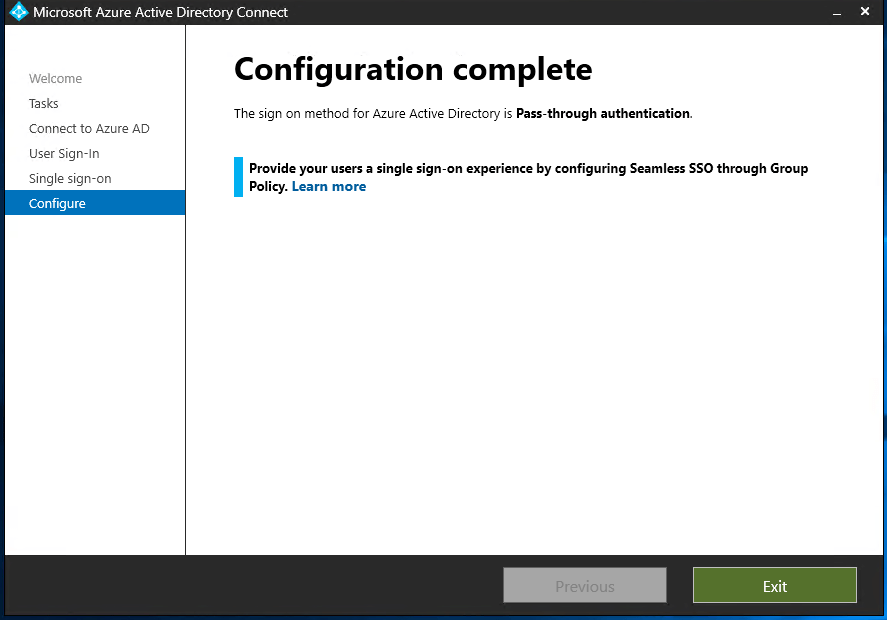
- The wizard will now configure single sign-on, when it’s done you will see a “Configuration complete” window. Click Exit to exit the wizard.

Step 2 – Rolling Out SSO
- On your GPO Server, Open Group Policy Management Editor tool.
- Create a new policy or edit an existing policy that fits the group of users that should access Vim Connect.
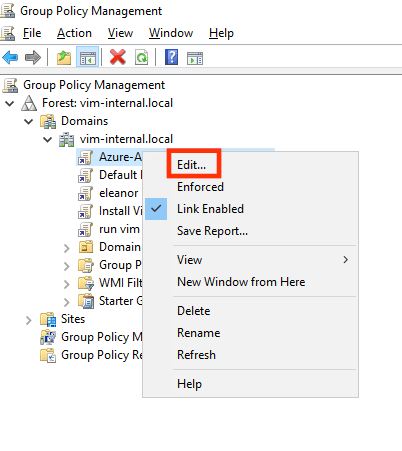
- Right click the GPO, then click Edit:

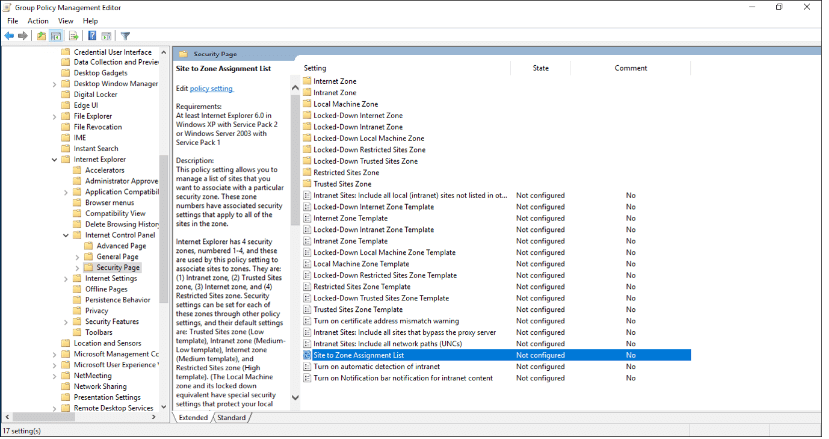
- Browse to User Configuration > Policies > Administrative Templates > Windows Components > Internet Explorer > Internet Control Panel > Security Page. Then select Site to Zone Assignment List:

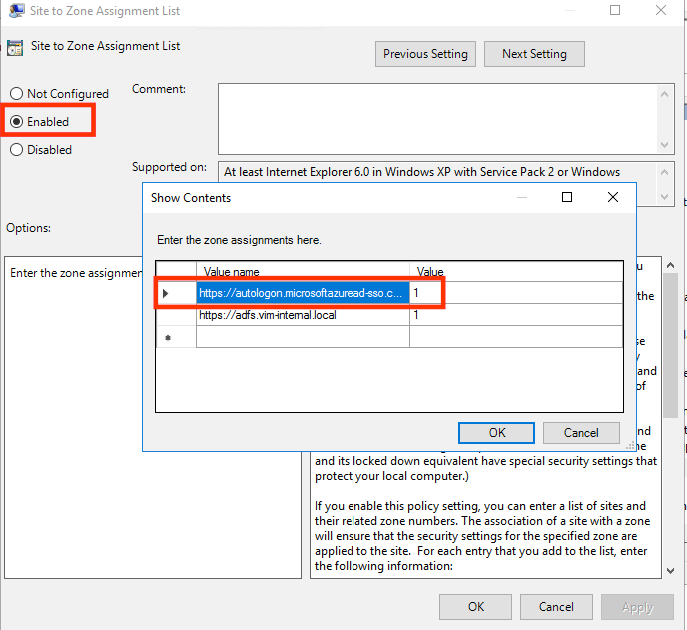
- Click Enable. Click the Show button next to “Enter the zone assignments here” and then enter the following values in the dialog box:
Value name: https://autologon.microsoftazuread-sso.com
Value (Data) : 1 - Select OK, and then select OK again:

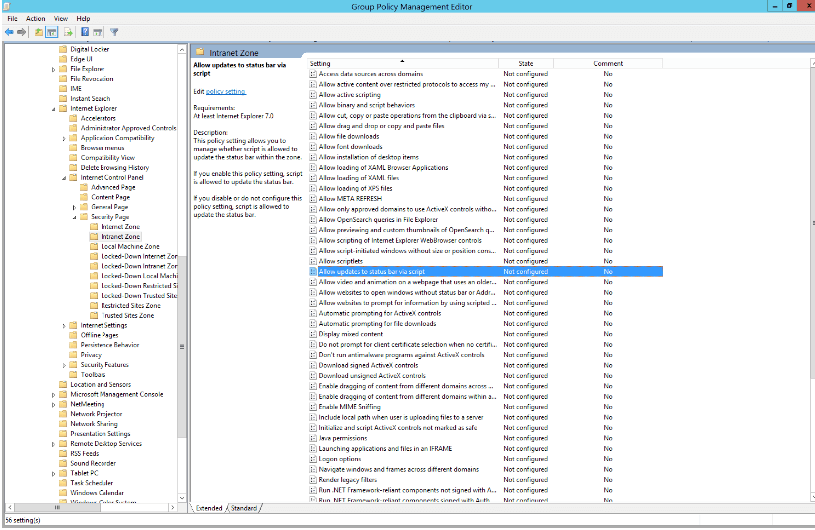
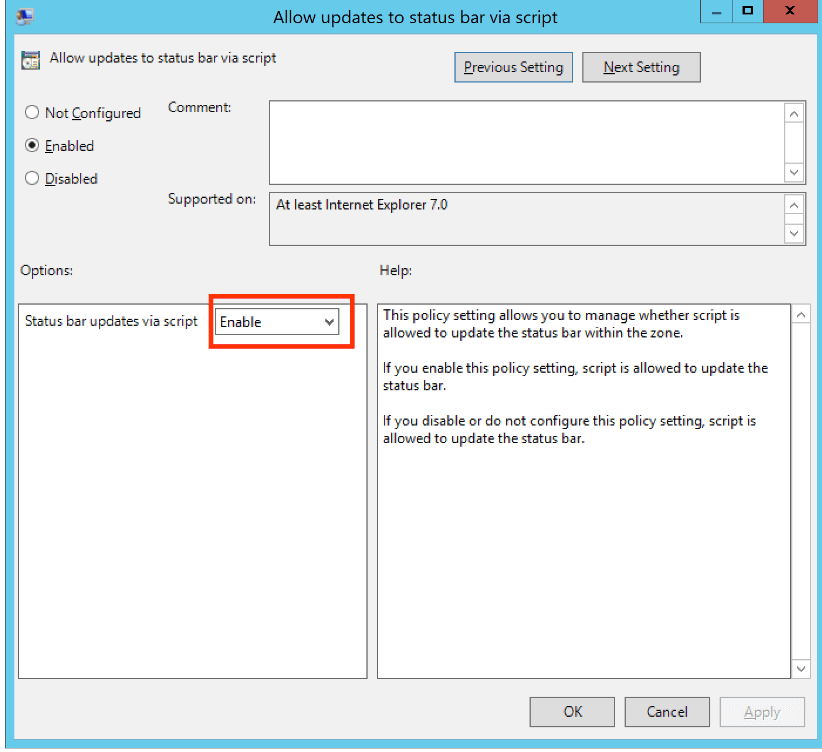
- Browse to User Configuration > Policies > Administrative Templates > Windows Components > Internet Explorer > Internet Control Panel > Security Page > Intranet Zone. Then select Allow updates to status bar via script:

- Enable the policy setting and then click OK:

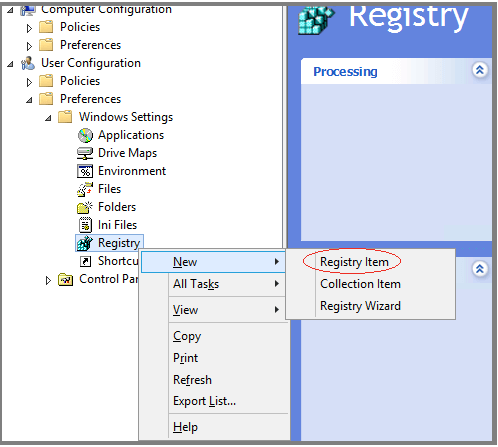
- Browse to User Configuration > Preferences > Windows Settings > Registry > New > Registry item:

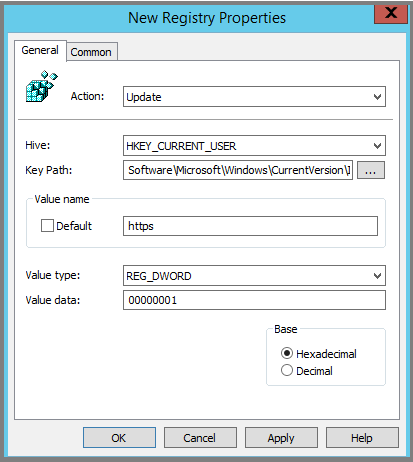
- Enter the following values in the appropriate fields and click OK:
Key Path: Software\Microsoft\Windows\CurrentVersion\Internet Settings\ZoneMap\Domains\microsoftazuread-sso.com\autologon
Value name: https
Value type: REG_DWORD
Value Data: 00000001

-
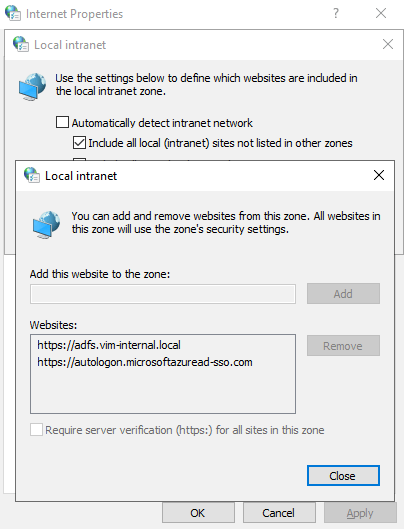
On a test workstation, run gpupdate /force and then check if the url was added to the intranet sites by going to start menu → Internet Options → Security tab → Local Intranet → Sites → Advanced

Step 3 – Configuring SSO App In Azure AD
-
- Request the connection identifier of your organization from the Vim team (will be described in the document as CONNECTION_NAME).
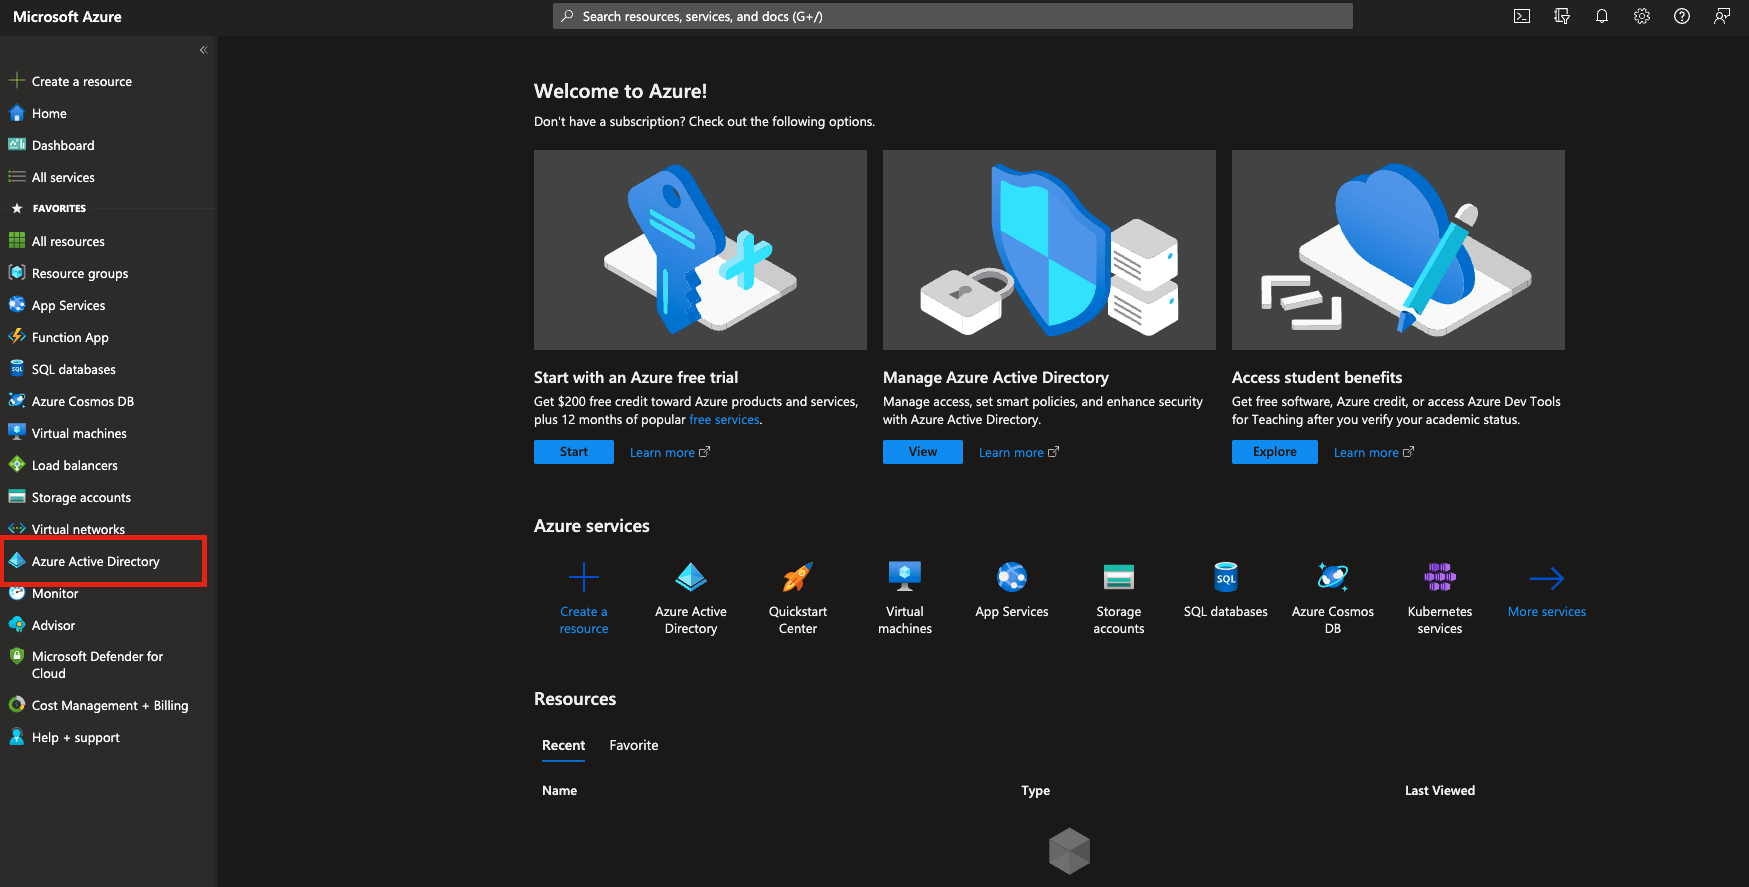
- Open Azure Portal https://portal.azure.com/, on the right side menu choose “Azure Active Directory”.

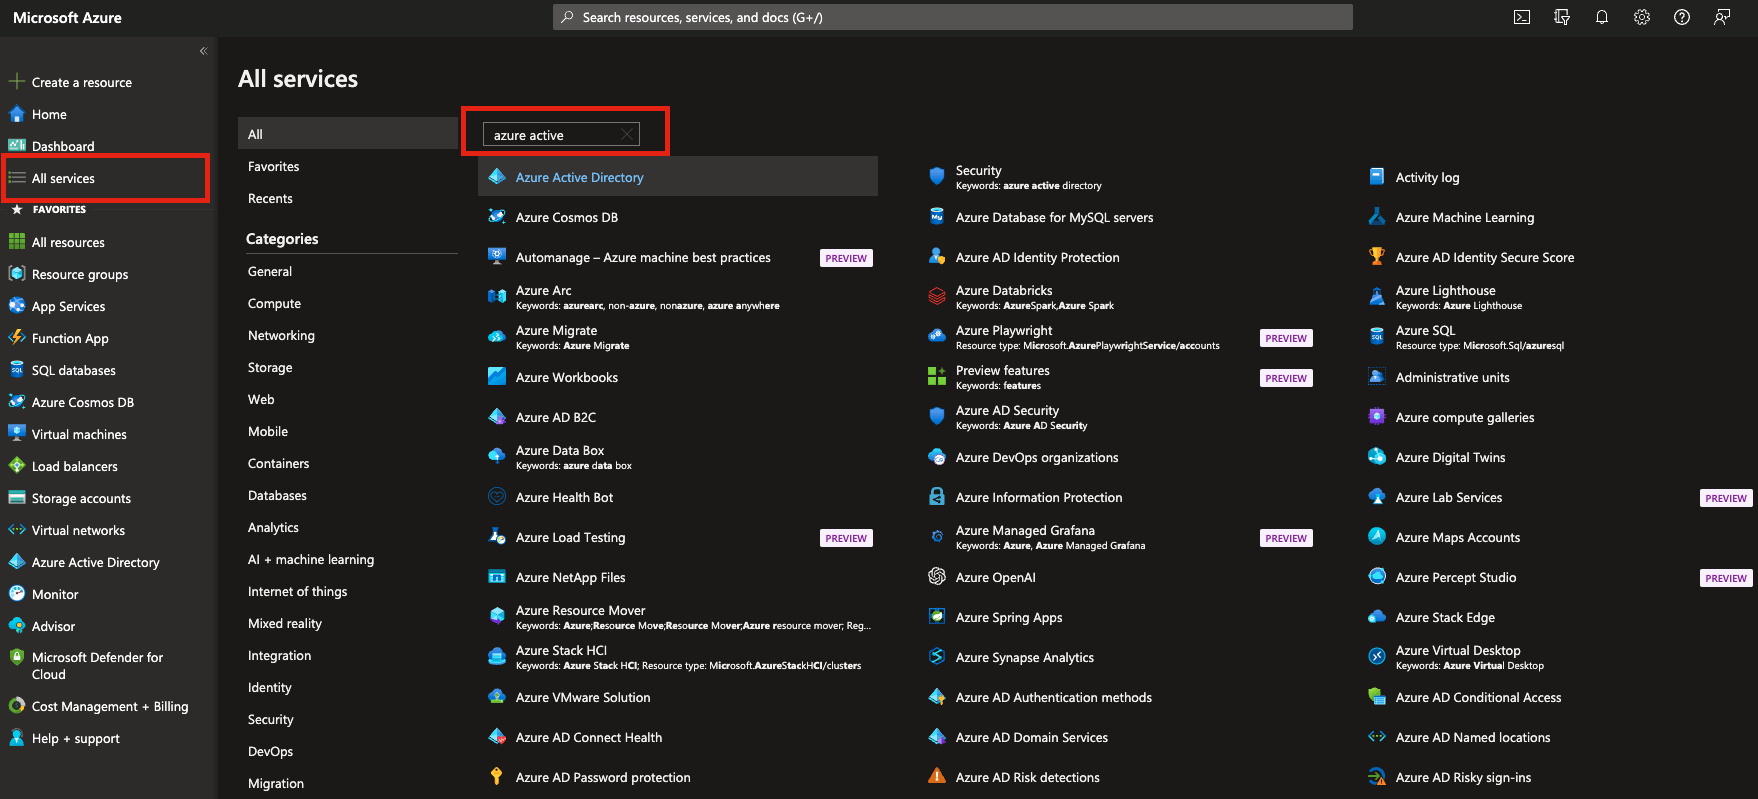
If there is no such service, Open “All services” and type “Azure Active Directory”:

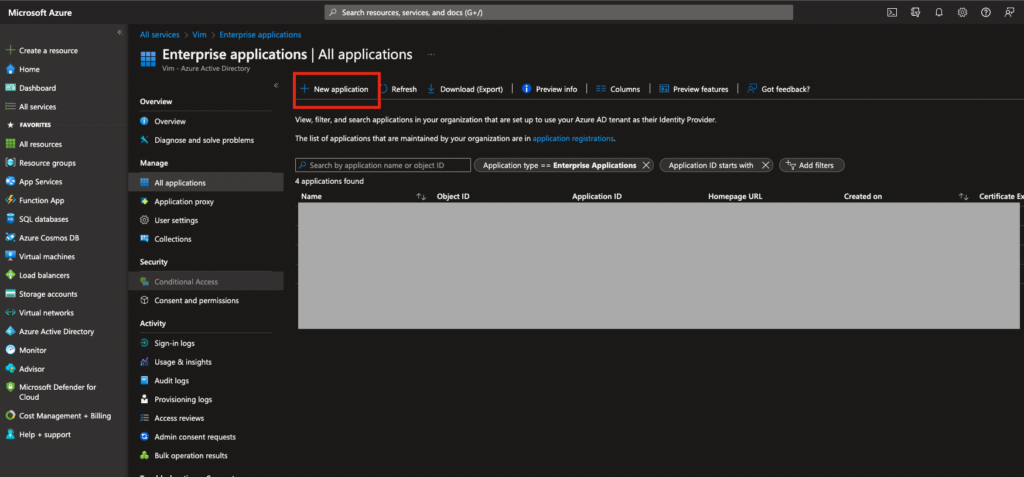
- In Active Directory menu choose “Enterprise applications”:

- In opened section choose “New Application”:
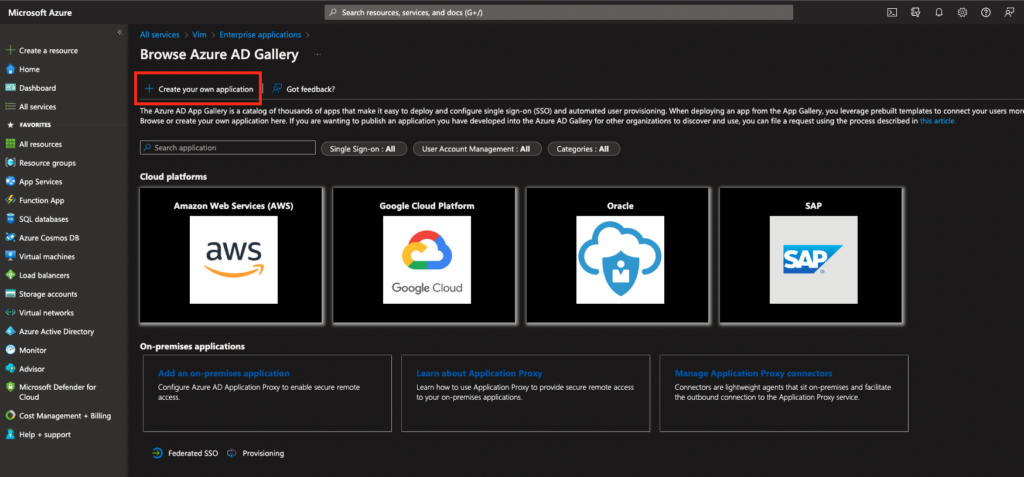
Choose “Create your own application”:Pick “Non-gallery application” type: - Type in the name “Vim Connect”
Select “Integrate any other application you don’t find in the gallery (Non-gallery)”
and press “Add”.

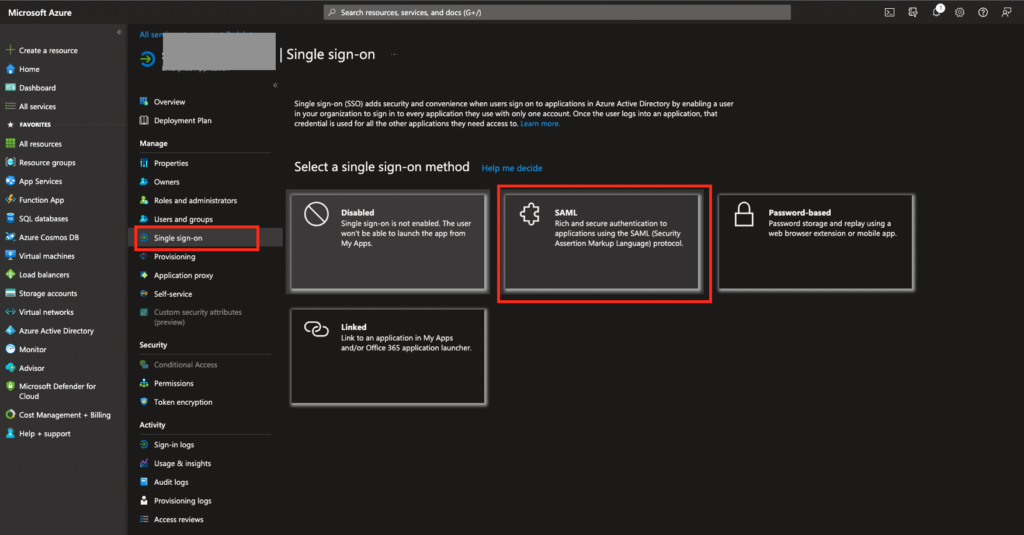
- In your Azure AD enterprise application choose section “Single sign-on”, in dropdown list choose “SAML-based Sign-on”:

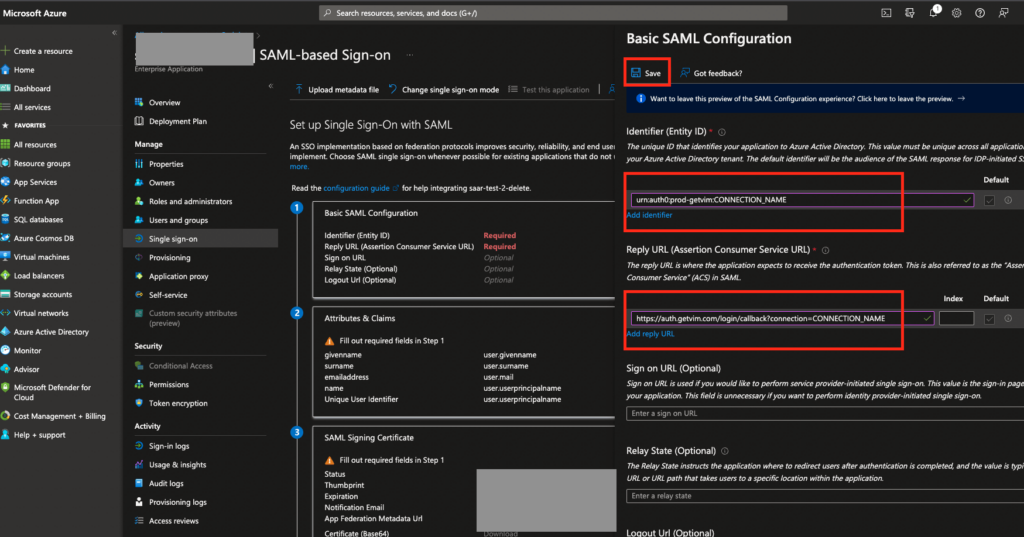
- In the first section “Basic SAML Configuration” click on edit

- In section “Basic SAML Configuration” set next information:
- Identifier:
urn:auth0:prod-getvim:CONNECTION_NAME - Reply URL:
https://auth.getvim.com/login/callback?connection=CONNECTION_NAME

- Identifier:
- Save your changes and close the form
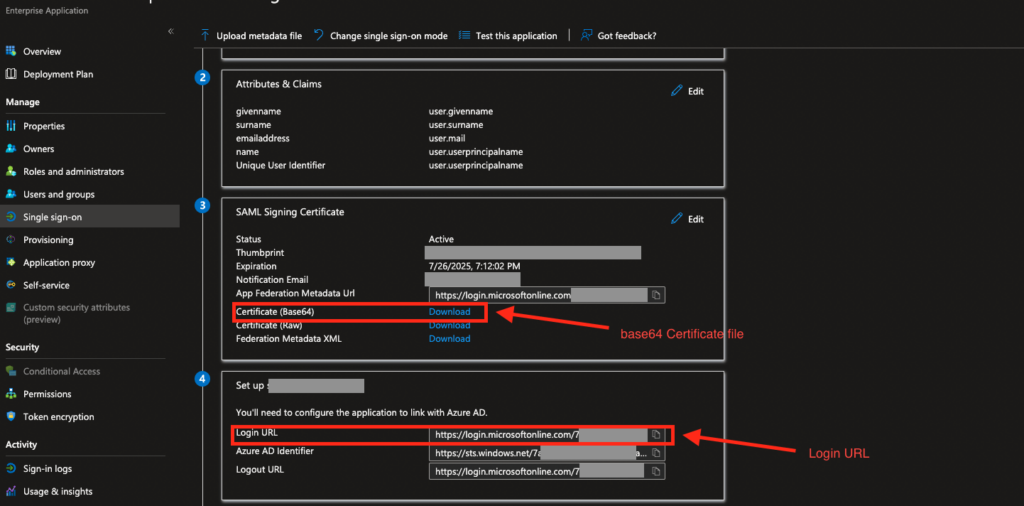
** there might be a bug in the azure screen, please make sure after this step you refresh the page before next step (download the certificate file) - In the “SAML signing Certificate” section, click on “Download” next to the “Certificate (Base64)” and copy the “Login URL” in the next section:

- Send the “Certificate” file and the “login URL” to Vim.
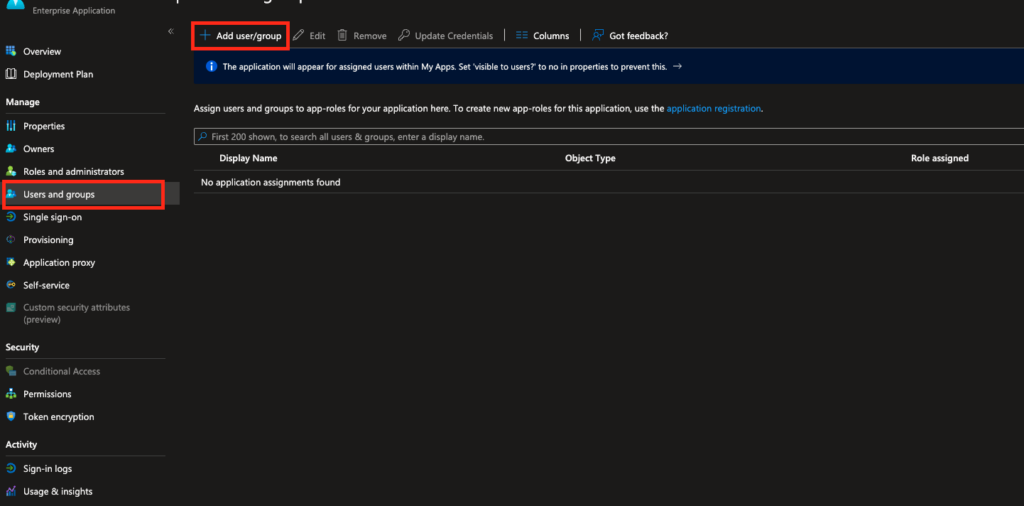
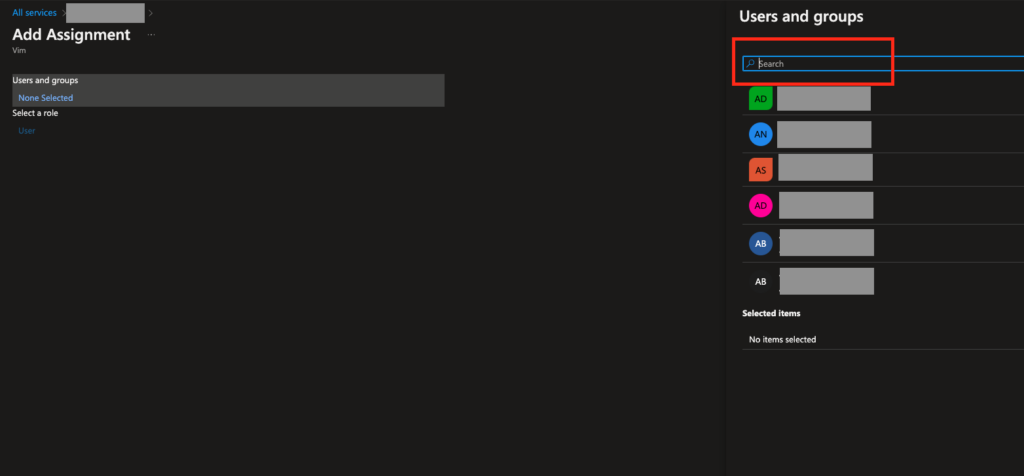
- In your Azure AD select “Enterprise applications” and choose your application. Select “Users and groups”->“Add user”.
- Invite new users or select from existing. These users will be able to login with this Azure

- ADD account to Vim Connect. When you finish adding a user, select “Assign”.

 Pick “Non-gallery application” type:

Questions? Contact your Vim representative or reach us at [email protected]